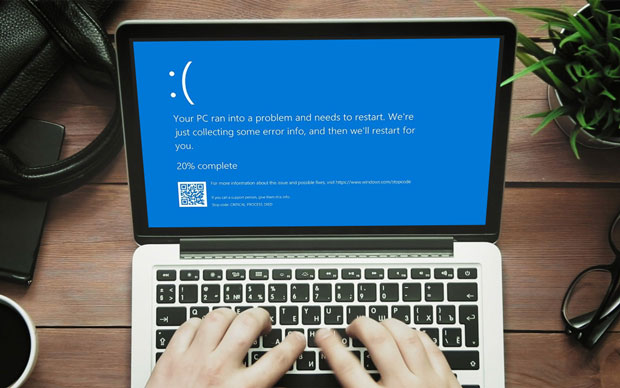
Summary: Millions of users rely on using Windows Operating System. Windows 10 edition causes an issue while you boot the PC. Sometimes, severe disk errors appear while repairing the hard drive. Find out the detailed information and solution to solve the matter.
When we start working on PC, we want everything prima n proper. However, unexpected situations appear while working and one of the devastating situations is the appearance of Disk errors in MS Windows. This error is troubling and frustrating because it will not allow you to work smoothly. First, it is important to know that Disk errors are not common and they turn up due to many reasons like virus attack, power failure, and so on. The saddened part is that this error makes the internal or external hard drive inaccessible and affects files. You may even come across a severe data loss situation when all such problems appear in Windows 10.

Ways to Solve Windows 10 Disk Errors:
Disk errors are surely possible to solve if you follow the corrective measures in the right direction. Here are some fixes that may help to overcome the matter, check them below:
1. Startup Repair:
The prerequisite for Start-Up Repair is to have Windows 10. If you use the machine with Windows 10 then system repair is easily available along with this, an installation disc also there. It is suggested to make use of the tool such as Rufus or Win32DiskImager for creating Windows 10 bootable USB drive. Here are the steps to follow:
- First, you need to plug the disc or bootable USB drive into the PC.
- Click the power button and begin the Boot. You can also F12 key for entering the boot menu.
- With the help of down and up arrow keys, select the system repair/installation disc or bootable USB drive. Press the Enter key.
- Now, go to the Windows setup screen >> ‘Next’ click the ‘Repair your Computer.
- In the next step, select Troubleshoot and after that select ‘Advanced Option’ >> and then choose Startup Repair. Make sure to wait till the repair process come to an end.
- Once the repair process gets finish, ensure removing the installation/repair disc or the USB drive. Now, let your PC Restart and Boot the Windows 10.
2. Check the Security as well as Maintenance
Windows Operating System comes with various useful and fruitful features and one such feature is Security and Maintenance. It keeps you on updating you about the complications in the PC. It takes initiative in letting you know the hardware and software issues. If Windows 10 boot swiftly then following the below mentioned easy process:
- First, go to the Control Panel
- And then select Security and Maintenance from the various available options.
- In the next step, click on Maintenance and find out the status of the Hard Drive.
- If the hard drive is causing any issue then it will appear on status otherwise nothing will flash on the screen.
3. Utilize CHKDSK (Check Disc)
Amongst various inbuilt utilities in Windows, CHKDSK or Check Disk utility is a fruitful utility. Usually, it is used for repairing the issues with the hard drive. You can use it for solving bad sectors as well as logical file system issues.
Steps to run Check Disk or CHKDSK Utility:
Here are the easy steps to run CHKDSK:
- Start the process by pressing the ‘Windows + S’ keys together. Now type cmd.
- Soon after typing cmd, right-click on Command Prompt.
- Now choose the ‘Run as Administrator’ and press ‘YES’.
- After this, move to the Command Prompt window. In this window, type chkdsk X: /r /f. It is noteworthy that X is the external hard drive letter whereas /r and /f are CHKDSK parameters. Make sure to press ‘Enter’ key to begin with scanning and repairing.
As soon as the CHKDSK utility comes to an end, try to connect the external hard drive. You may also try to restart the system and check if the internal hard drive of your PC is scanned or not.
4. Use PowerShell
Another powerful utility that comes with MS Windows 10 is PowerShell. If you are doubtful about error messages in the drive then using this utility will provide you great relief. The utility uses the Repair-Volume command to work on error messages. Here is the step-by-step process to use PowerShell:
- First press the Windows and S keys together.
- Then type PowerShell.
- Now, right-click on the ‘Windows PowerShell’ and choose the option ‘Run as administrator’.
- After this, you will find PowerShell command line where you are supposed to type ‘Repair-Volume C –Scan’. Here C will be used as the volume or as the drive letter. Use the command for scanning the hard drive volume for errors. In case error messages appear, you can try to run another command.
- For the next command, ‘type Repair-Volume C –OfflineScanAndFix’. Then press the ‘Hit’ >> ‘Enter’ so that errors can be fixed and offline scanning can be done on the drive. Wait for the process to come to an end.
- Or else, try another by typing ‘Repair-Volume C –SpotFix’. This will solve the issue by seeking the volume offline
Once you are done, it is important to check that all went fine. Therefore, restart your PC and check if errors are removed or not.
In the Nutshell: It is the responsibility of a regular computer user to keep a check on the performance of the hard drive at least once a month. This will help you to acknowledge if disk errors appear or not. This task can be simplified if Windows 10 utilities such as CHKDSK and S.M.A.R.T. are used. Such facilities support fixing the problems before severe corruption takes place.
