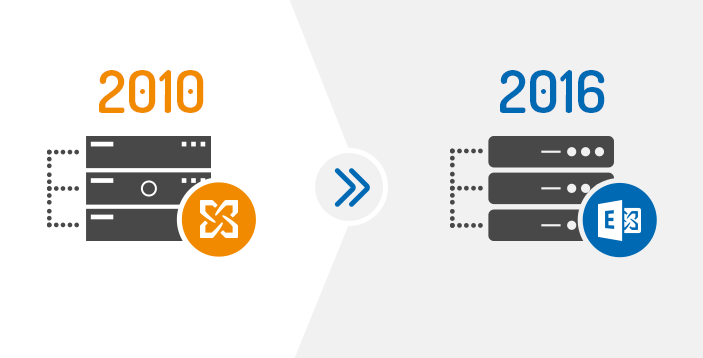
Through this illustrative guide, we are explaining the process to mount Exchange 2010 database on Exchange 2016. Also, we will clear the reasons behind this task. For example, you have Exchange 2010 installed with you and you are running a program which is out of support.
What is the meaning?
This means when you are using Exchange Server 2010, you will not get any updates. Also, Microsoft will not provide support for Exchange Server 2010 which is near to its end of life.
Understand the Scenario
Let us suppose that you are working with Exchange Server 2010 and there is some hardware issue. Here, you can’t shift the server from one host to another as this is a physical server. Thus, users have to create Exchange Server 2016 but they are unable to mount the database once it is restored from backup. This is not the only issue as Exchange Server configuration is wiped out. Only option you have is to create new Exchange Server 2010, but the schema of Active Directory was up to date and modified.
Solutions For the problem
The only thing you can do is to install Exchange Server 2010 in the same environment, as Exchange Server 2010 can co-exist with Exchange Server 2016. This is because mounting Exchange Server 2010 on 2016 is not possible and the reason for it is different database structure. With Exchange Server 2010, you can’t update domain & forest level to Windows Server 2016 level. Exchange Server 2010 only assists for domain & forest level of Windows Server 2012 R2.
Let us suppose it Windows Server 2012. The solution here is installing new Exchange Server 2010 on Windows Server 2008 R2 or Windows Server 2012 R2, configuration & other things. Now, restore Exchange data EDB file & its log files. For this, you have Recovery database method.
Check database status
Open Exchange Management Shell for using PowerShell on newly created Exchange 2010 and use Eseutil to check the status of database. For this, given below is the syntax:

Eseutil /mh <location of restored database>
You will see the state of database which is Dirty Shutdown.
Soft Recovery
For restoring data to healthy state, Soft recovery is needed that you can do with given syntax:

EseUtil /r E05 /l <location of restored log files> /d <location of restored database>
Once this gets complete, run EseUtil with /mh parameter to assure the healthy state of the database. If you find it in dirty state, then use hard recovery method using EseUtil /p parameter.
Creating a recovery database
Once you find data in healthy state, use this command for recovery database.

New-MailboxDatabase -server EX2010 -Name RecoveryDB -Recovery -EdbFilePath T:\RecoveryDBFile\DB1.edb -LogFolderPath T:\RecoveryLogFiles
By doing this, your database is added to Exchange Server.
Mounting the database
Now, you can easily mount the database with the given command:
Mount-Database RecoveryDB
Now, move your database to Exchange Server 2016. According to size of EDB file and number of mailboxes to move, it will take time. After this, you can decommission Exchange Server 2016 and start using Exchange Server 2016 as primary server for you.
If domain and forest levels are upgraded to Windows Server 2016, there is no solution for installing Exchange Server without reaction.
Now, what’s the solution for users? In this case, the solution is to minimize downtime and get server back & running in no time. As we mentioned, mounting Exchange 2010 database on Exchange Server 2016 can’t be possible if domain and forest levels are on Windows Server 2012 R2 level. Also, it would be wastage of time to create new Exchange Server 2010 & restore its data. Also, the time taken to move mailboxes from one database to new server.
To do all this, a lot of efforts and time are involved. Also, this will affect the business of users as they are unable to use their email service.
To come out of this problem, it is suggested to use Softaken Exchange Server Mirgation Software. By utilizing this program, one can mount EDB file created by any Exchange Server version and smoothly export the data into PST, MSG, EML, and other formats. In few clicks, the database can be easily mounted by this utility. Also, many additional features are offered by the software such as exporting EDB file directly into Live Exchange Server and Office 365 tenants.
By using this program, one can reduce their efforts and resources. Moreover, Users can utilize this program for migration and recovery process. You will get many filters and search options in this tool that force you to invest in it.
First simply download the trial edition & examine all features of the software prior you invest your funds in it.
Bringing It All Together
Exchange 2010 users ask for mounting their database on Exchange Server 2016. This task is not so simple. You can do it with native tools provided by Microsoft. But before you mount the database, your Exchange database file should be in healthy state. In this guide, we have talked about all necessary things that you need for mounting Exchange 2010 database into Exchange Server 2016. But if the database is offline or dismounted, you have to make use of third-party software that will be the perfect solution for all users. Also, this smart solution has several attractive features. To check all of them, download free demo edition before you opt this software’s paid version.
